
This kit is manufactured and distributed by the German company Reifra Kunststofftechnik and I purchased it directly from them (via a well-known e-commerce platform). It comes in a plain cardboard box with some beautiful artwork on the lid. The scale is 1:288, the assembled model is about 25cm tall. I suspect that this kit was originally constructed in the GDR (German Democratic Republic). It is different from the typical western kits, but in a good way.
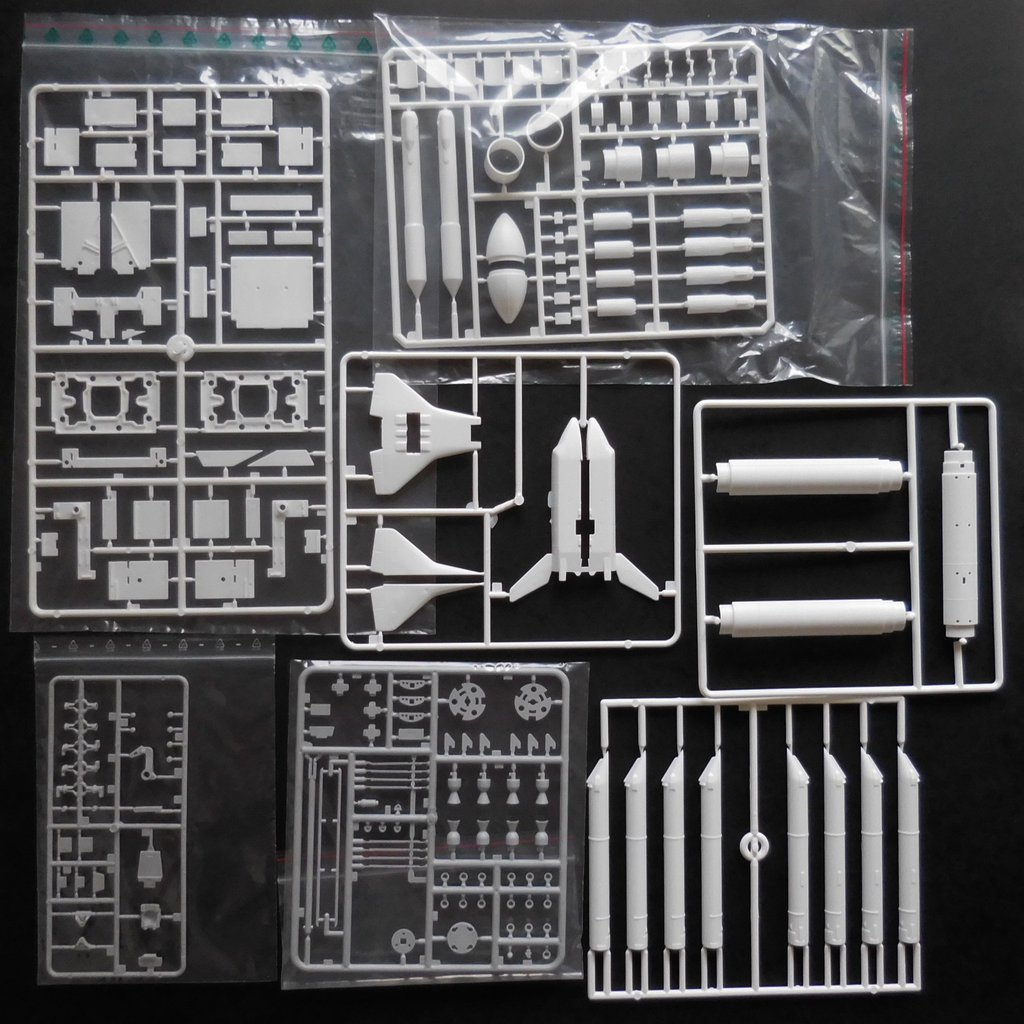
The mold comes in two colors which give the model a nice look even if you do not paint it. The individual molds are contained in good-quality zip-lock bags instead of the usual wrapping, which is nice, because you can reuse them. The precision of the parts is excellent and they feel very solid. The plastic is a bit softer than most kits, which is neither good nor bad, you just have to be a bit more careful when cutting and filing.
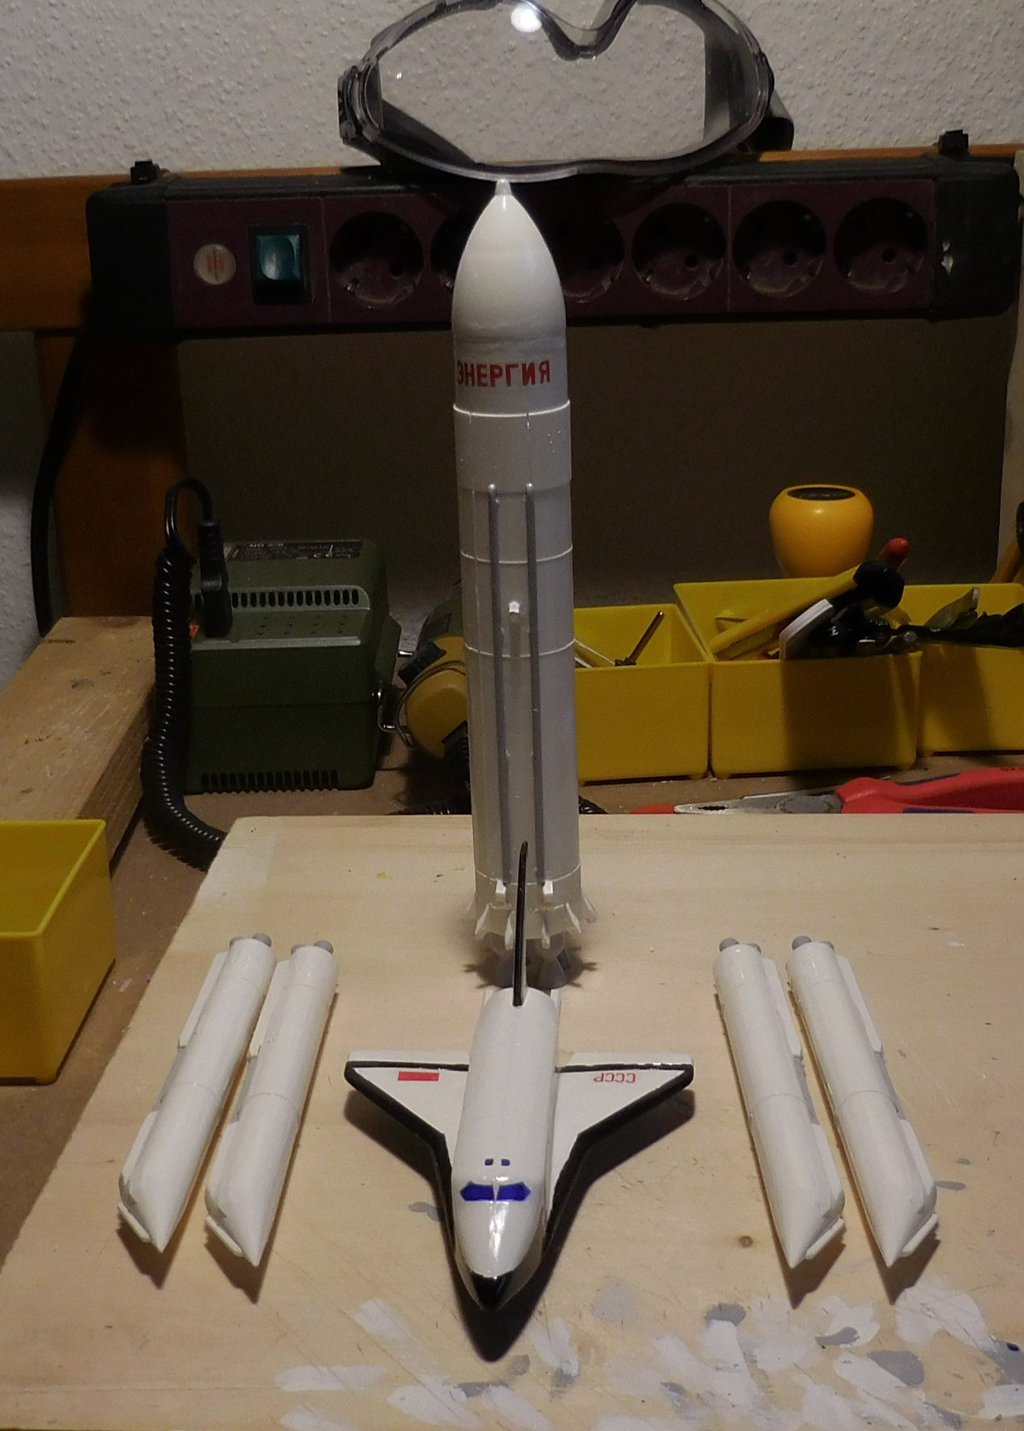
The lid of the box says "not a toy", but I think the model would make a rather decent toy. The landing gear is retractable and the finished model is quite solid and heavy. That being said, with a half-decent paint job it also looks very impressive on a display stand, as you can see on the photo page.
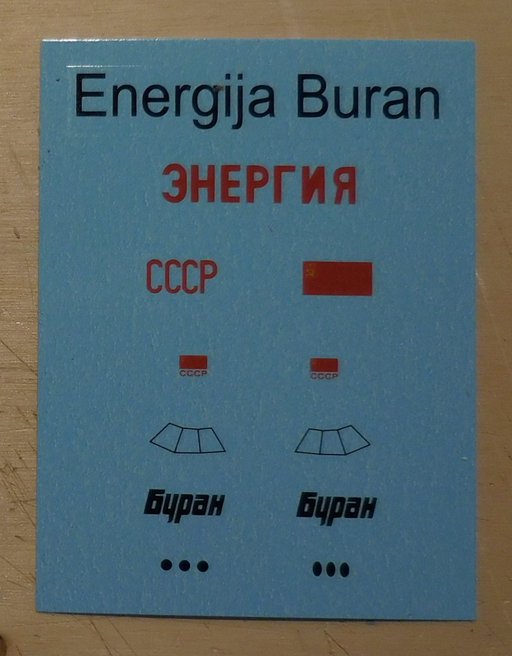
The decals are of decent quality. They detach easily from the paper, can be adjusted without any trouble, and look great once applied. The text on the decals reads "Energiya" (ЭНЕРГИЯ), "SSSR" (СССР), and "Buran" (БУРАН). No, I do not speak Russian, I just happen to know a little bit of Cyrillic.
There are also some little USSR flags, outlines for the cockpit windows (I used transparent paint instead) and openings of the OMS (which I did not use, because I think the model looks better without them).
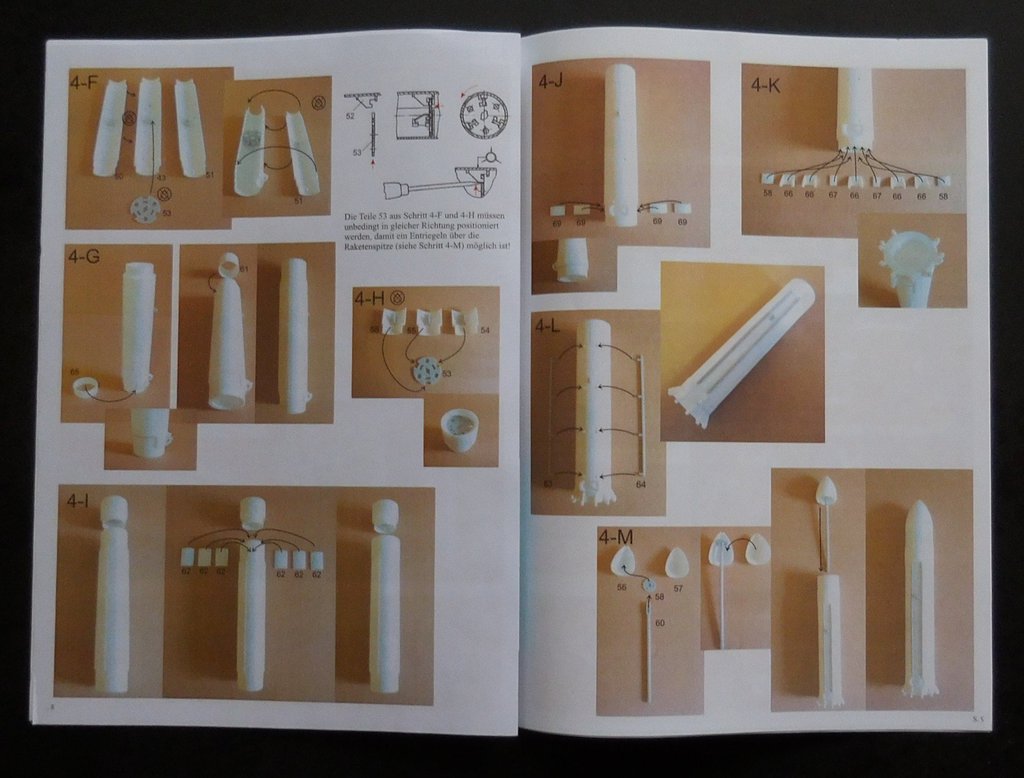
The instructions are the weak spot of the kit in my opinion. There are lots of photos but very few diagrams, and I sometimes had a hard time figuring out some small details. Then, there were some points where I wished I could go back and approach the assembly differently. If you plan to build this kit, make sure to read the instructions completely and carefully before beginning.
Also note that the kit looks deceptively simple, but I would not recommend it to a beginner. Here are a few hints that may save you some headache:
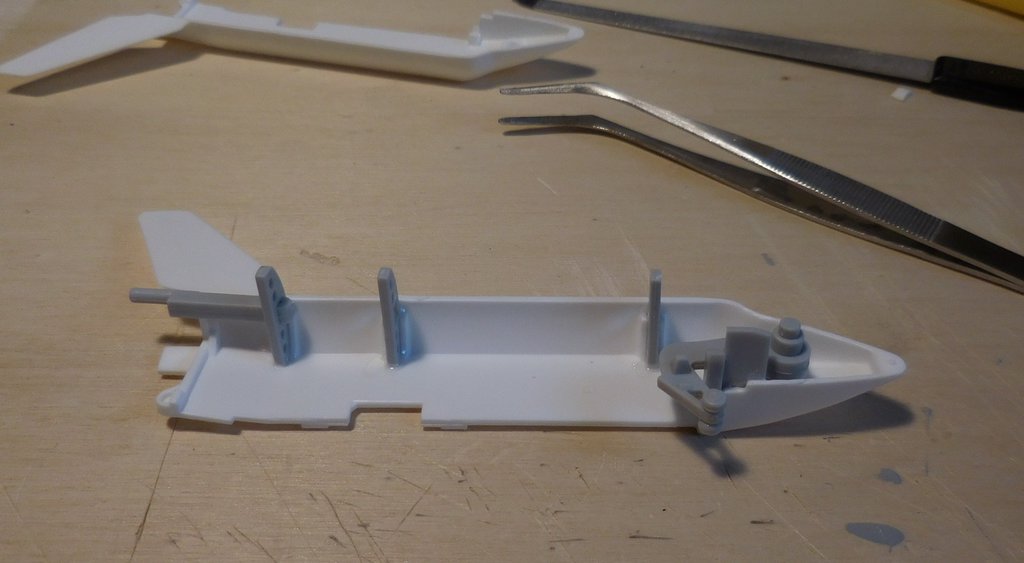
Here is a picture of the left half of the Buran fuselage. There are very few glue points on the parts, but a lot of internal structure that is used to hold things together, which lends a solid feeling to the finished model. On some parts, no specific points are marked for applying glue. For example, attaching the boosters to the main vehicle requires some visual judgement. Personally I experience this lack of guidance as refreshing, but your mileage may vary.
For the finish I used glossy black, glossy cream white, semi-gloss dark gray, transparent glossy dark blue, and a self-mixed glossy light gray that I used in the Orion sci-fi model. Normally I would use matte black for the underside of the shuttle, but in this case I enjoyed the glossy look too much.
The transparent blue is the color that I often use to tint windows and canopies. The kit has no transparent windows, so I used transparent blue instead, which gives a pretty good illusion of transparency when applied to white plastic.
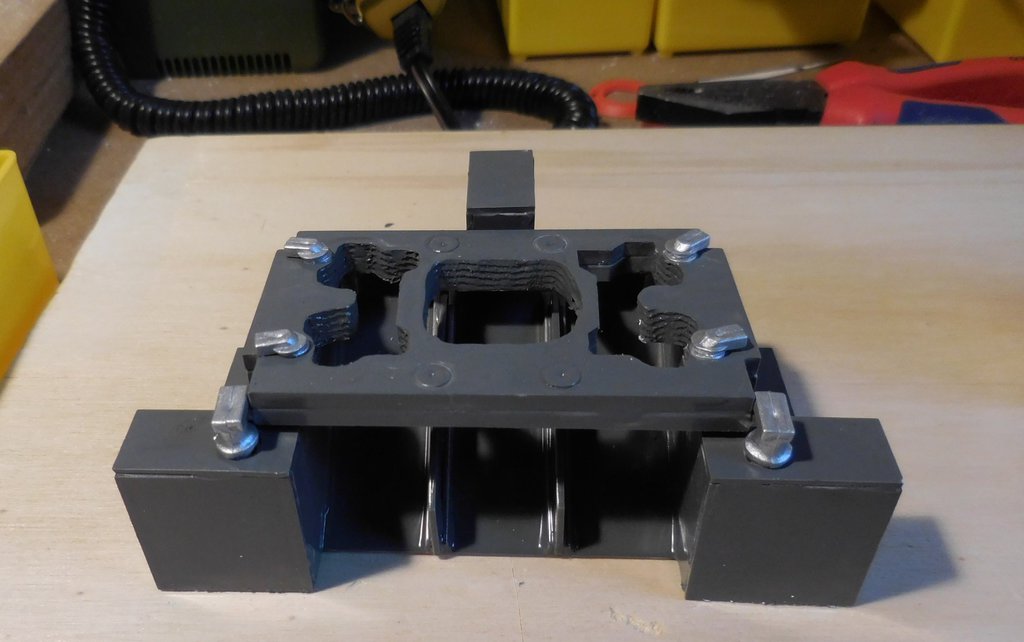
This is the launch platform. The instructions say that you should place the exhaust nozzles of the boosters in such a way that they match the holes in the platform, but I preferred it the other way around. I attached the nozzles first and then used a milling drill to make room in the platform.
See the photo page for more pictures.